Showing posts with label WIP. Show all posts

Friday, May 28, 2010

Flesh Tearers: Small Update

Got 3 more Flesh Tearers assembled.  I haven't had much time to hobby these past weeks as I've been swamped with work. I'm also prepping to move to Syracuse, NY from NYC. Any readers up there familiar with the area?

DSCN2915
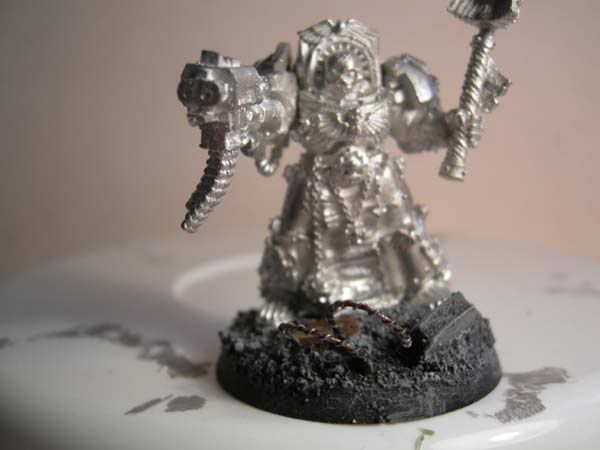
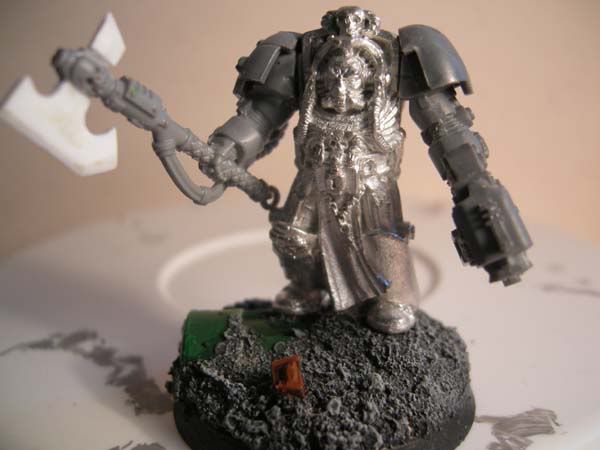
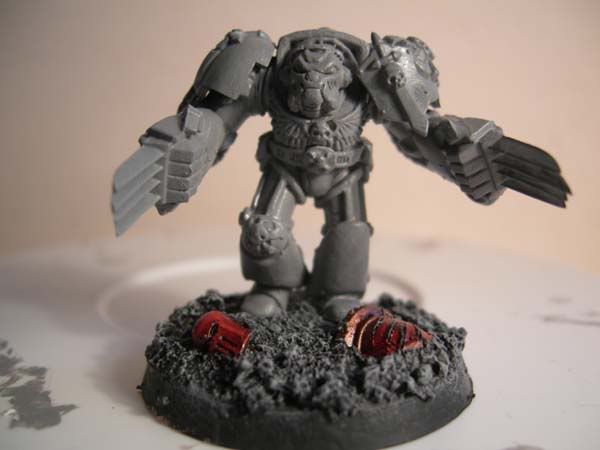
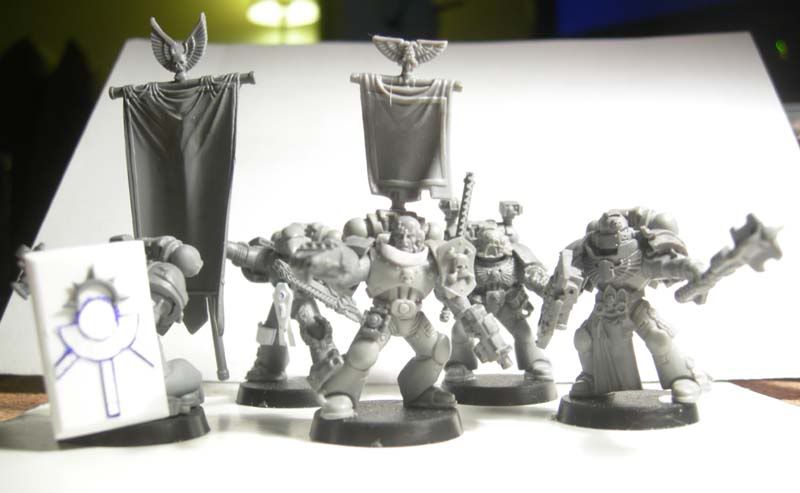
Here are the 4 Assault Squadies posing together. My night time shots are terrible, but at least you can see the amount of movement the new Death Company legs and arms offer!  It's pretty awesome.

DSCN2922
Here's a better shot of a Beakie marine rushing into battle.  The Assault Pack is from DC set, as are the legs.  Entirely by accident, this marine was assembled with lots of tassel-like things on his legs and pack, but in the end, I think it makes him look really dynamic.  For the base, I've taken to using Ron S's (Over at From the Warp) method of lifting up the feet a slight bit so the marine doesn't look like they're sinking in to the flock. It works really well and allows me to go nuts on the base without worrying about blocking up all the detail on the marine's legs.


DSCN2918
This next marine is another simple assembly just using DC arms.  I wish I had taken better pictures.  I've taken to using Picasa and getting better at them as I play around with the settings. If only I had more time to devote to the hobby and to documenting the hobby.  I know.  I know.  The lament of every hobby blogger out there!

If you have any Flesh Tearer links, I'd love to see them!  I'm a bit intimidated by the prospect of painting red, but I think it's time I stop being such a chicken about it and do it.  Hopefully, I'll get some time this weekend to knock out a test model!

Tuesday, May 18, 2010

Terrain Tuesday: Tank Traps WIP

I know what you’re thinking. How could he already be moving on to another project? He just started the Imperial Parkway last week!

You, reader, are correct! But let me explain! First of all, I haven't added any flock to the Parkway yet as I haven't had a chance to sit down and do it. Second, I'm playing in a massive Planetstrike game in a couple of weeks (June 5th!) and I've volunteered to make my own defensive terrain for it. Third, I can't help but have multiple terrain projects going.  I think I have AADHD (the extra H is for Hobby!)...I get distracted by inspiration easily! Fourth, it can be used as a Cities of Death Obstacles strategem and I've been meaning to make a few of these to add to my barbed wire options.

Also, I really like alliteration and you can't beat Terrain Tuesday: Tank Traps, right? I mean...that's 4 Ts!
DSCN2985Ahem. Moving on. Here is a very dark shot in the Terrain from Junk style.  These plastic cups are from our local takeout place. Usually filled with tasty sauces and dips, I've cleaned them (can't say this enough...clean the heck out of any food container you decide to use for terrain) and laid them out next to my Librarian (who's hiding in the shadows).

DSCN2987
Very simple work! I cut out the base and laid out the cups with enough space for a single model to pass through, then glued on tops (to cover up the size info) and glued them to the base. The base is slightly bigger than the "6 inches" suggested by Cities of Death strategem, but with my play group, they won't really mind.  It'll look good on a Planetstrike mission as well! Next step is to texture up the cups with some fine sand and then to flock the base with gravel. Knowing how I work, I'll probably flock these Tank Traps (I made 3. I eat a lot of delivery in NYC) at the same time I flock the Imperial Walkway.

DSCN2990
The height and width of the cups look sturdy enough to stop a Rhino or give a Leman Russ reason to go around it. Quite a few of the ones I see for sale seem so tiny compared to the tanks they're supposed to stop! Besides, why buy it when you can make it, eh?

For the game, I'll probably propose that any tracked vehicle with a dozer can move through the Tank Trap with a dangerous terrain test (and destroying the trap), otherwise the terrain is impassable to all non-skimmers. It'll also grant 5+ invulnerable to infantry (and is not difficult for them). Lastly, since this is Planetstrike, the terrain can, of course, be destroyed and replaced with a crater during the Firestorm phase (which I love!).

Show me your custom strategem terrain or defensive terrain if you got it!  I'll link it up and probably steal the design.  I need to make minefields and gun turrets before 6/5...I'm defending a WHFB Fortress in the name of the Crimson Fists that weekend and the more guns, the better.  Defense has it rough!

edit: I have no idea why these photos don't click/link to larger pictures. I uploaded via Windows Live Journal and for some reason only the first pic works.  I'll check when I get a chance and sort it all out. If any one out there has any tips, let me know!

Friday, May 14, 2010

It Begins: Flesh Tearers!

DSCN2896
As mentioned previously, I’ve decided to add a newly minted Flesh Tearers force to my ever growing numbers of armies!  A Battle Force box, 2 San Guard boxes (the second one is for the bits) and a Death Company box is a good start, I think.  I figure this will give me 1k points and I can always add a Baal Predator later.  The interwebs are all a buzz regarding the Priests, so I may need to make a few of those at some point as well.  But for now, I’m setting down a core list to build around.

I love the new Death Company and Sanguinary Guard models.  The improvements GW has made to their molding/sprue process is very evident in this latest release.  I’m not just talking about the exquisite detail either!  I think whoever laid out the bits on the sprue took careful consideration of where mold-lines might show up and adjusted accordingly.  On top of that, they redesigned some flawed layouts…like the Jump Packs.  Don’t understand what I’m saying here?  Assemble a jump pack from the Assault Squad box.  Then put together one from Death Company.  The revised layout not only allows tons of detail, but it also makes assembly great!
DSCN2911
DSCN2913
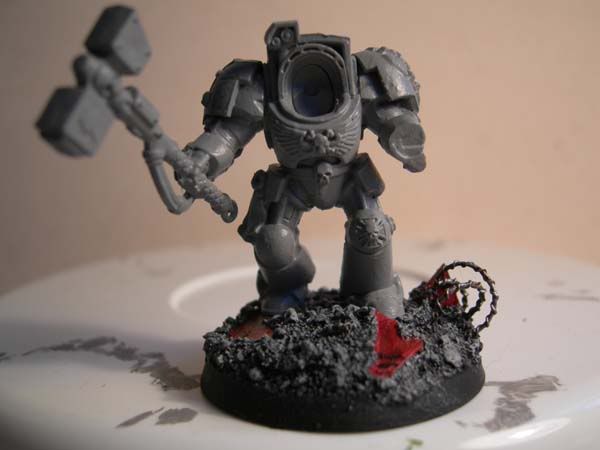
Whenever I get a new project, I get crazy with organization.  I live in a modest NYC apartment, so I can’t leave out tons of WIP stuff for too long or else the place gets cluttered.  And with 2 cats and a wife, things may get eaten (by the cats) or accidentally shifted (by the wife).  So I clip all the bits I plan to use to make a squad and drop them into a bin to keep them organized.  DSCN2898From there, I clean up each model individually, decide on the pose using blue sticky-tack and proceed to glue!  My first project is a 10 man Assault Squad…that counts as a Troop choice.  5 are in the box right now. The Death Company plus the Battle Force box gives me all the Assaulters (and jump packs) I need.  One complaint is that the Death Company Box doesn’t have the jump pack torsos.  I’ll dig them out of the bitz box to cover it, which will leave the DC torsos for my actual Death Company unit.DSCN2902The Sarge pre-assembly.  The Thunder-hammer bits are so sexy I can’t help but use them right away.  I might buy another set just to use it on a Crimson Fist Vanguard model.
DSCN2921The Sarge nearly assembled.  I didn’t glue the TH just yet as I wanted to be sure I could reach all the fiddly bits for painting.  He’ll be leading 9 more Flesh Tearers.  Or maybe he’ll just be leading 4 more and I’ll make a second Assault squad with a Power Fist.  I’m undecided and the army list is still in flux.  So many options!

Anyone else starting up a Blood Angels or related chapter force?  I'm scouring the webs now for Flesh Tearer painting guides...test models to be done soon!

Tuesday, May 11, 2010

Terrain Tuesday: Imperial Parkway

note:  Apologies to folks that saw updates for all my posts.  I've started using Windows Live Journal to post and I'm still learning.  I think I got the hang of not blowing up the system though.

I have a confession to make:

I love making terrain.  It’s a blast for me to cobble together all sorts of bits and bobs to make a nice City-Fight (I guess it’s called Cities of Death now) piece or a nifty industrial bit.  I like how you start with nothing but craft supplies and end the process with a piece of terrain worth fighting over!

In an effort to reduce the size of my “terrain” bits box before I potentially move, I’ve decided to try and create as much terrain as I can over these summer months.  It’s probably silly as moving with terrain means potentially broken terrain, but my wife might be upset when I pay the movers to carry a box full stuff that to the untrained eye, appears to be trash.  The life of a hobbyist is complicated indeed!

For this Tuesday, I finished a project I started ages ago, an Imperial Parkway.  The idea was simple enough.  Take the leftover foamcore from cutting out the windows to my broken Cathedral and create a fence on a small bit of board.  Sidewalks and eventually a statue.  Nice bit of cover-creating terrain that wasn’t rubble. 
DSCN2903
For the bases of the statues I blatantly stolen the idea from Ricalopia.  In case none of you have been over there, this guy is frakkin’ talented as hell and is a veritable GOLD MINE of ideas that inspire you to produce.  The specific idea I stole was from his Imperial Objectives pieces.  He used the non-bolters detail bits from the Bastions to make pillars.  Simple, effective, genius…stolen! 

I then grabbed 2 brutalized marines from an Ebay auction that I had been too lazy to fix and chopped them up a bit.
DSCN2909This poor marine took a few hits to the noggin.
DSCN2910Ow!  My arm!  Oh!  The humanity!  The humanity!

Carving up the marines was fun.  Drill bits, hobby knife, clippers…teeth.  All were used to desecrate the statues of these marines!  Okay.  Maybe not teeth.
  
DSCN2907 
I made the rookie mistake of poking bullet holes and carving impact cracks into the foamcore before gluing on any details.  I know exactly how it happened too.  I was cleaning up a few edges of the foam and was like, I’ll just put an impact crack here.  Then I grabbed the pin and added bullet holes and before I knew it, I had no space to put on actual bits details.

DSCN2908
I did manage to squeeze in a sword or two on the sides at least.  I cut up a few Dark Angels vehicle symbols.  I mean…I have a million of those flat-winged swords, so why not?

Lastly, I glued down some scouring pad to represent dirt inside each statue area.  I’ll be gluing down some sand over it along with a few clumps of grass to represent the days when these statues were respected.
For painting, I expect it’ll be the same grays I use to paint the rest of my cities.  I’m considering defacing the statues with Chaos script, but then it won’t match anything I’ve done so far.  But so what?  It doesn’t have to match, does it?

Comments are appreciated!  I’ll post an update next Tuesday on the progress.

Thursday, March 18, 2010

New(ish) Blog: Terrain From Junk!

We interrupt my 40 days of painting updates (or nonupdates as the case maybe) to pimp a blog I hope gets alot more views and pictures:  Terrain From Junk (associated with Tristan, author for GWPertinent).  It provides snapshots of terrain made from the junk around your house and I think it's brilliant!

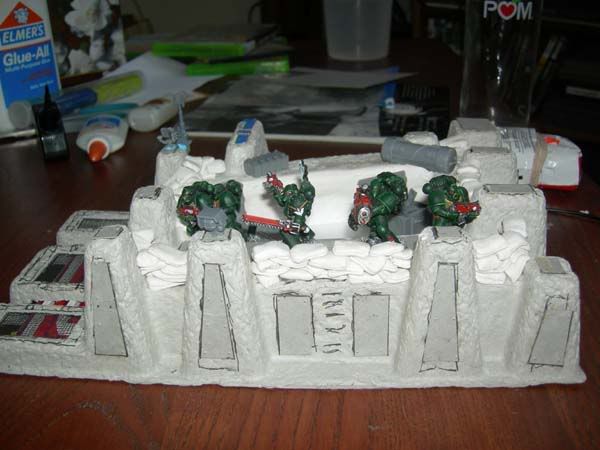
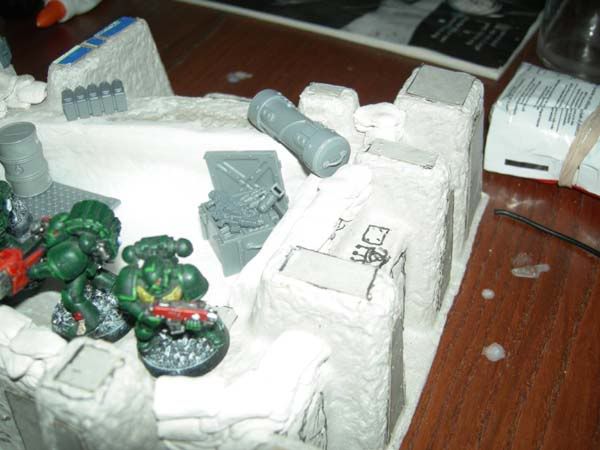
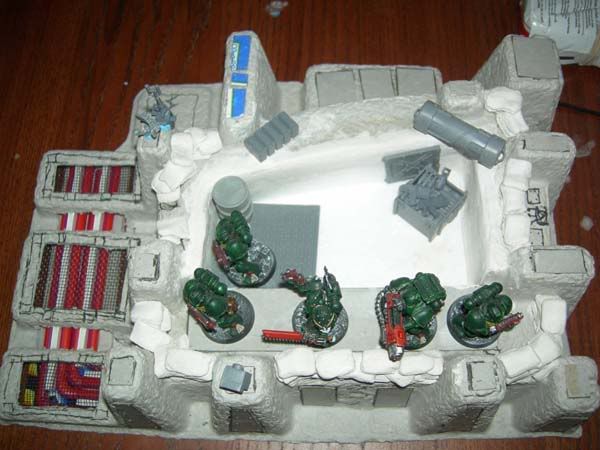
I respectfully submit my own junk piece (unpainted, but to those familiar with my blog, this should come as no surprise!)...the Random Industrial building turned into a last-stand base.  It was created from the humble packaging for my new printer (or really old printer at this point!):
Glorious junk, right?  Endless possibilities!  I used cereal box cardboard, lots of bits, some plasticard and clay-filler and produced a work of WONDER!  Okay.  Maybe not wonder.  But definitely serviceable as some front-line bunker or cheap-o bastion.


I used bendy straws and wire mesh for the pipe system.  One of the delays I have in painting it is that I've been meaning to pick up water effects to put down there, but I haven't gotten around to it yet.

Check out Tristan's new blog!  Send in images for inspiration!  With the unending number of terrain kits GW has been releasing, I've been missing the DIY folks that turn junk into terrain!  I yearn for the days of WDs filled with coffee can terrain pieces and deodorant-container tanks! 

Wednesday, March 17, 2010

WIP Jump Pack Captain

note: This guy has been primed and painted already, but I wanted to show a WIP shot.
As I've become obsessed with Planetstrike games, I decided that I needed a Captain equipped with a Jump Pack to better support my assault/counter assault elements (both my 2000 points defender/attacker lists now have Jump Pack Marines).  I didn't want to spend a million points on him, so I gave him the basics:  Jump Pack, Power Weapon and a Melta Bomb.

Some very minor conversions went into this guy:  I cut down the hip plates from a Terminator Assault set and had to place a spacer on his Jump pack to fit in the Iron Halo.  If I do the hip plates again (and I will as I kind of like them!), I'll probably fit in some sort of spacer to lift them up slightly from the armor.  They look a bit off...or that could just be me.

I heavily decorated the Jump Pack as I wanted the Captain to be able to fit in with the bling-laden Vanguard and still stand out.  I think the seals and base will help in that regard. The base I received in a trade via Santa Cruz Warhammer Barter Bucket. I traded my OOP Imperial Guard along with an Imperial Guard on a bike for metal scouts, and Mike was awesome enough to toss in a few resin bases. It adds a great amount of height to the Captain and will be fun to paint I think.

I'm pretty sure the seals were from the Ravenwing set.  I love that set just for the seals! On the top of the jump pack, I wanted to add some more bling (pimp my jump pack!), so I shaved down a pair of matching Terminator honors bits as far as I could manage and glued them on.  If I had more skill (and time) to work with green stuff, I'd probably had been better served going that route.  But I'm happy with the way it turned out.

I wish my pics weren't so dark.  Taking pics while working isn't easy.  Do you folks have a photobox set up that is quick to turnaround?  Often, I'm snapping a pic under a lamp and trying my best to clean it up on Photoshop (my skills there a limited as well). My challenge is that I live in a NYC apartment that has nearly no space to permanently set up a photobox/lamp set up...so I make do with my work lamp on the coffee table so I can get something up.  Perhaps it's a setting on the camera I can fiddle with...is there any setting that'll take brighter pictures despite crappy lighting?

Coming up:  Finished Captain, Basing 101 and a 10 man Assault Squad!

Wednesday, November 11, 2009

WIP: Crimson Fist Ironclad Dreadnaught


For my Planetstrike game on 11/14, I've decided to field an Ironclad Dreadnaught in a drop pod.  I've been using a regular AoBR dreadnaught proxy in games and I've really liked the Ironclad's performance so far.  Slightly better than a standard dread and well worth the extra points.

I have the Ironclad set from GW, but decided to also kitbash up my own dread.  After trolling various websites for inspiration, I came across an amazing model on Cool Mini or Not by Talarion.  I loved the head piece and the bulky bunker-like look of the model.  So I grabbed my bits and saw and knives and sticky tack and decided to give this conversion a try for my Crimson Fists!

The Dreadnaught shape, of course, is an AoBR model I picked up from The War Store.  I then sawed off most of the front of the model (after much dry fitting and determining best fit and the like).  I haven't glued on the front plate yet as I need to figure out what I want to do with any gaps, but so far, so good.


I used some old LR sponsoon bits (from my LRC) to form the front plate, cutting and fitting as needed.  For the head-lens array, I used a Chaos smoke launcher (at least I think it's a smoke launcher), much like the original inspiration.  Plasticard forms the helmet as well as the armor plate on the model (I don't know why I have black plasticard instead of white...the bag I bought had a large mix of colors and textures).  For the Chainfist, I used an old Epic Titan arm and a plastic tube tacked onto the AoBR arm.


I'm going to detail it up with some pipes and wires and the like.  And the pic makes it clear that I need to smooth out that arm immensely!

For the HK missile, I didn't really like the ones the Ironclad comes with.  It really doesn't makes sense to me that the HKs on Rhinos look so different from the ones on Ironclads, so I just took a normal Rhino HK and cut it down to fit under the dreadnaught.

Lots more to do:
Bulk out the legs with some more armor plates and detail.  Bulk out the body and arms as well...I'm not completely sure about the exhausts on the front...I like it but I don't know if it'll look good painted. And I haven't even touched the back engine!  I also need to assemble the other arm and add in the melta gun/flamer options. 

What do folks think?  Any advice?  I've got a ways to go yet and I may wind up proxying my Ironclad again on 11/14 if this beast isn't done yet.  For fluffy reasons, I'm saying that Pedro Kantor had to reactivate some of the older dreadnaughts after the disaster on Rynn's World…the loss of their armory has left the Fists using whatever they have on hand!

Thursday, June 11, 2009

Deathwing Librarian: Cape or No Cape?

I never liked the arms on this guy. I feel like it was a great idea to use the plastic arms, but they just don't look right on this guy. And then The King's Standard Bearer saw my unprimered Librarian in my last post and made a great suggestion in the comments: Add a cape!

I hadn't considered it before and now that I look at the model, I think that a cape would really help to make him look a lot less static...this pose is just so...statuesque! What do folks think? Add a green stuff cape or stop obsessing and finish him already?

Mind you. I will probably not be able to do both for a long time...but at least the base is done!

Basing: My Private Shame!

From the Warp provides the simplest tutorial on the webs for basing. Really. It is super easy to base your models. Do it! DO! IT!

In the comments, I mentioned that basing models was so easy that often I wind up with primered models and spectacular (in my not-so-humble opinion!) bases. Ron over at FTW seemed disbelieving, so in this post, I will provide photographic evidence!

Embarrasingly, my first pic is actually a completed base with an unprimered model of a terminator chaplain destined for Deathwing:

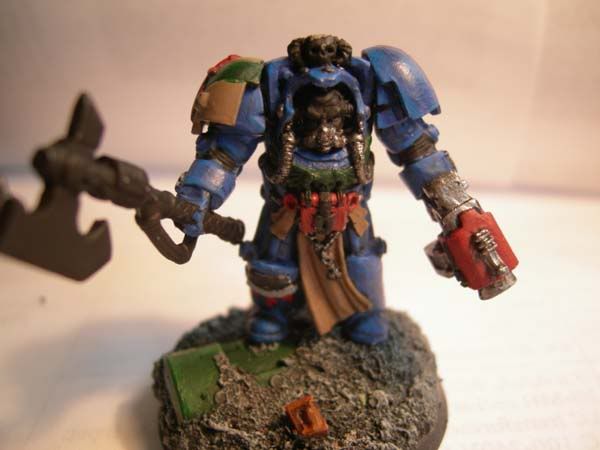
Next up, is the Deathwing Librarian. This Librarian model is relatively old (at least compared to the young sprite of a Chaplain above). I hated the arms on this guy as they were short and stubby as old metal Termies were back then. I wanted him to be able to blend in with my new termies, so I gave him plastic arms and converted a TH into a Force Axe. I also built the base up so he'd appear to be the same height as new termies. No short librarians amongst the Unforgiven!

I tried to make the pose look like he was brandishing that axe threateningly, but it's difficult when the body is essentially a block of metal. I'm not the happiest with the SB arm placement, but I've come to terms with it. What was I saying...oh yes. Again. Here we have a completed base. Unprimed model. I have a problem. The first step is admitting it.
Oh. The humanity! Here's a primered (Grey Gesso) Deathwing Assault Termie with a completed base.

Here's the Deathwing Sgt. Missing his head. And his stormshield. Yet. He is primered and standing on a fully painted base complete with Word Bearer wreckage (my friend plays Chaos Space Marines and rocks a Word Bearer paint scheme!).
You're probably thinking, "Jeez cawshis. That's got to be it, right? I mean...how many completed bases but not painted models could you possibly have?" To which I answer...TOO MANY!


Of course, since taking these pictures, I've since basecoated the Chaplain and Deathwing models above. The Ravenwing? Not so much. I'm not confident enough in highlighting black yet...but I'm getting there! To reveal a secret: I pinned all my Deathwing/Ravenwing models to their bases so that I could easily remove them for painting purposes...so painting the bases was actually pretty easy since I do them in batches separate from the model. I wish I'd get around to doing the models though!

But yeah. There you go, Ron! Primed models sitting on completed bases! Do you believe now? I really need to get better at not doing that...is there a support group out there?

Tuesday, April 21, 2009

WIP: Vulcan Clone

When I started the Skull Bashers, I wanted to go in the opposite direction of my Tyranids. I wanted tanks, good saves, templates and low AP weapons. 

Six rhino chassis later, I'm working on the rest.

Vulcan really stood out in making flamers, melta and Assault Terminators extra dangerous. I was banking on the rumors of a model for him being true. The good thing is that there is a model for him coming out soon the bad thing: it's not my style. It's too busy and I don't like the idea of him throwing his spear.

So, I'm building my own model. It's the Commander chest and legs, with the Standard Bearer's pole turned into a relic blade with the help of some plasticcard and part of a hunter-killer launcher. The Gauntlet is a lighting claw with plastic tubing and plasticcard.

Still to do:
  • add some plasticcard on the legs to make the armor look different
  • custom backpack 
  • scaled mantle
Thoughts? Anyone else doing a Vulcan conversion?

Monday, April 6, 2009

WIP: CF Sternguard


Sternguard WIP

My April Challenge list calls for 6 sternguard. I own the metal set, but I decided to use one of those guards as a Sgt in a tactical squad so that left me with 4 metal SGs. I didn't want to buy another set so I thought I'd try my hand at creating plastic sternguard marines. Kantor Base asked for ideas on converting plastic tacticals into Sternguard, so I felt inspired to try!

The first guard above is simply made. Weemen has a very simple and elegant tutorial on turning bolters into Sternguard bolters. I was pleasantly surprised at how easy it was. And unhappy that I can't seem to find a single scope in any of my bits boxes! I'll need to grub a pair of them from friends before I can paint them!

For the leg band, I cut some thin plasticard into a strip and dabbed a tiny bit of zap-a-gap on one end. I then wrapped the plastic card all the way around the leg adding tiny drops of zap-a-gap (I used a tooth pick to dip and apply) to hold in place. Once I got all the way around, I cut the card and glued the final end on. I'm going to add white glue rivets following Santa Cruz's tutorial and use a pin to make really small ones.
Sternguard WIP


Sternguard WIP
I notice now I forgot to do some clean up on both these minis. I'll get it done while I wait on those scopes. Suggestions are appreciated! I haven't yet glued these guys.

Friday, April 3, 2009

WIP: CF Command Squad

Crimson Fist Command Squad
I've just finished my command squad and I'm fairly happy with the way they turned out. I wanted to practice some simple conversions and since my Crimson Fists are all about getting them on the tabletop as soon as possible, I'm not super concerned with achieving perfection. They're my practice army.*

All my pics should be clickable for the larger versions!
Powerfist Veteran
Veteran with Power Fist
I wanted this Veteran to look capable of leading a squad or fit into a non-jump pack Vanguard unit, so I gave him some bits from various sets. For the neck-armor, I used index card cut to fit and then sealed it with white glue to stiffen it up. I used this method before with my devastator Sgt., and it worked out pretty well.
WIP,Crimson Fists
Completed Devastator Sgt with Neck-Armor

Storm Shield Veteran
Veteran with deluxe storm shield
For my veteran with a storm shield (who can say no to 3+ invulnerable saves?), I wanted to make a massive tower shield. This veteran uses his shield to protect the squad! I made it out of plastic card the I carefully heated to bend around the shaft of a fat pen. Then I detailed it using index card and a bit from a servo-skull. I think I need to add rivets and maybe something a bit more to really complete the shield. Any ideas?

CF Bannerguard
Bannerman with plastic card.
Again, I wanted to practice with plasticard, so I made this bannerman a piece of groin-armor. It's different thicknesses of plasticard. I plan to paint the hanging bits as scrolls. The banner is pinned on so I can paint it separately (and turn it around for pictures!). I need to add some weight to this guy because he tends to tip over with all that weight on the banner.

CF Champion
Company Champion front

CF Champion
Company Champion back
No major conversions on the company champion except I used a Dark Angels power-mace instead of the sword. I like the mace better from the Crimson Fists...for no good reason. I plan to use the blade as a relic blade for the eventual Honor Guard anyway. I clipped the DA symbol and replaced with Terminator armors. I might add some leg-braces or armor, but I'm undecided on whether he needs more detail or not.

I didn't snap a separate shot of my Apothecary since I really didn't do much with him. He's a standard apothecary model out of the plastic box. I might have used the wrong head though as now that I look at my remaining bits, I see the apothecary head right here. I think I grabbed a captain's head. Makes him slightly different I guess!

Any comments or suggestions would be appreciated. I'll probably be painting the squad over the next week or so.

Wednesday, March 25, 2009

On the Bench: Drop Pods

Special Request Edition: GWPertinent asked to see my DIY Drop Pods. I aim to please!

Months (okay, like 2 years) ago, Santa Cruz Warhammer posted a link to a template for making your own Drop Pod. They then made a Dark Angel one and posted the step by step. The drop pod was so awesome, I thought that not only did I need that drop pod in my life...I needed 3 of them. GW didn't offer a plastic drop pod kit at the time (I think it was released the summer of '08?), so I downloaded the templates, printed enough to make 3 pods and got crackin'. For materials, I used foamcore and cereal box cardboard. I *really* cheaped out on these pods cause I was saving money for more Dark Angels!

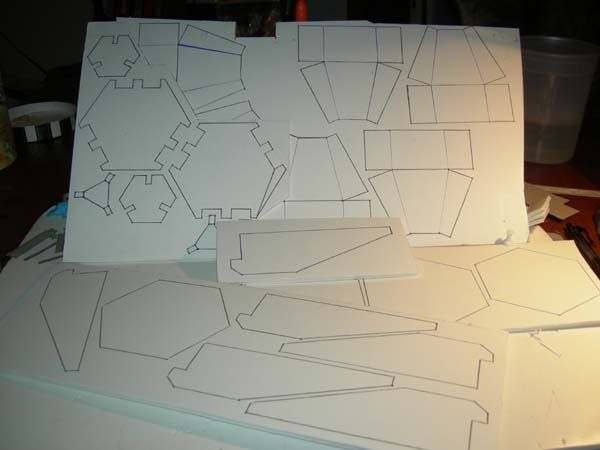
I used the pin method to transfer the templates to the foamcore, played connect the dots and then spent a ludicrous amount of time cutting and fitting all the pieces. Unfortunately, I don't have a shot of all the cereal box cardboard, but trust me when I say that I eat a LOT of cereal and used a lot of cardboard. Cereal box cardboard is great for detailing buildings and drop pods. Not as good as plastic card, but much cheaper.

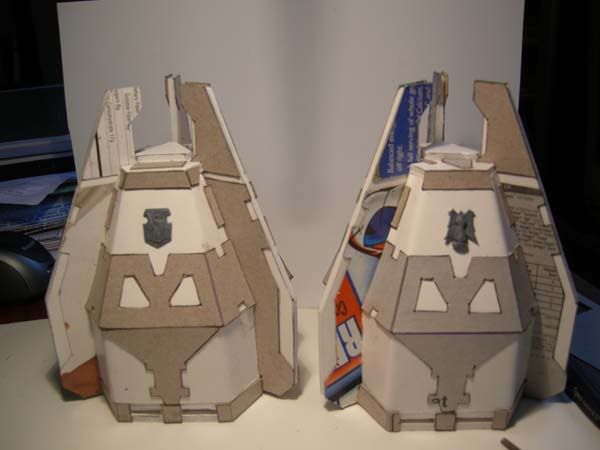
Two nearly-completed pods. They need rivets and engines. If you compare to the Santa Cruz one, you can tell I skimped on some details...I just couldn't bring myself to cut MORE cardboard after having cut enough for 3 pods. Bit off more than I could chew I guess. Ten points to whoever can identify the cereal box I used! I'm in the states, so this may not be fair to those readers across the pond.
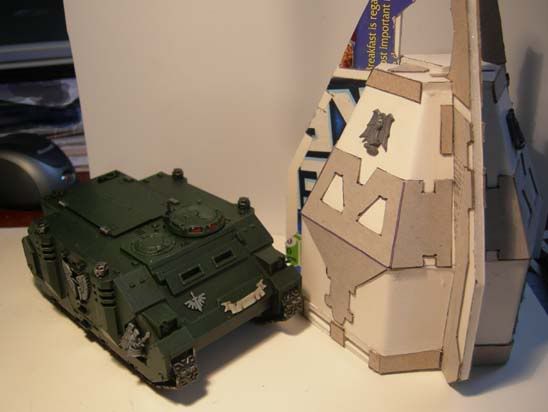
Here is the obligatory Rhino comparison shot. It's hella-big and blocks some serious LOS! They aren't anywhere near perfect and some lines are a little off...but for less than 12 bucks for 3, I really can't complain!

After the release of the Space Marine Codex, I thought I'd give these pods to the Crimson Fists. Dark Angels pay 15 more points a pod and don't even benefit from the Drop Pod assault rule. The one issue: The Dark Angels insignia. I considered ripping them off, but decided against it. Maybe the Crimson Fists won them in a bet from the Dark Angels or something.

I've actually added scratchbuilt engines and started painting them in Crimson Fist colors. I'll try and get a post up soon!