Sunday, March 14, 2010
Basing: Not Another Tutorial Part 1
There are probably hundreds, if not thousands, of basing tutorials on the web. Ron, over at From the Warp, has probably the simplest tutorial out there...add glue to base, dip in sand! Weemen extends Ron's 2 steps out to 10 in an easy to read and follow fashion. The talented folks over at Santa Cruz Warhammer not only expanded on Ron's simple format, they also introduced grass and a self-made nifty wash to it.
So, as I say in the title...this is not another tutorial. More talented folks have created tutorials for you to follow and use. In that linked post from Santa Cruz, they had a contest at the end that involved them sending some basing materials to a lucky winners. The only requirements...write a quick review. I sent John my review ages ago, but I still owned the blog a review. Here it is in the simplest and easiest form...and just in time for 40 Days of Painting!
First up, superglue a rock to the base...Santa Cruz (SC)'s kit came with a bin of slate that was perfect for my bases. Glue it anywhere you think it looks nifty. Don't over think it! Only warning: Try not to make it impossible to paint the model's feet!
Second up, add white glue. I just put 2-3 drops on the base and use a toothpick to spread around. Third, dip in your sand mixture. In the past I used a gravel-like mix for my models. Santa Cruz sent me a nice sandy mixture...it's the same mix they used in their tutorial. It sticks quick and then I just let it dry overnight.
Prime it! I prime my models using Gesso. I never liked the spray paints despite the speed and living in an apartment building makes it tough to "go outside" and spray. Besides that, priming with gesso allows me to really look at my models and mentally take note of all those details I may not have noticed before. Hand-priming, for me, has really improved my painting habits. Here's a pic of the brand I use.
I use one brush for the base and different one for the model when priming. I've learned through trial and error that using the same brush means you get a bit of base material stuck to your model and that you'll need to remove the gunk later...learn from my failures!
I then leave this to dry overnight! Stay tuned for the painting steps I take in part 2!
40 Days of Painting Status Update:
26 days left...9 points complete. That's 6 Sternguard, 5 Assault Marines and 1 Captain. I think I'm going to do Rhinoes next just to increase my score to respectable levels. Low hanging Fruit FTW!
Thursday, June 11, 2009
Basing: My Private Shame!
In the comments, I mentioned that basing models was so easy that often I wind up with primered models and spectacular (in my not-so-humble opinion!) bases. Ron over at FTW seemed disbelieving, so in this post, I will provide photographic evidence!
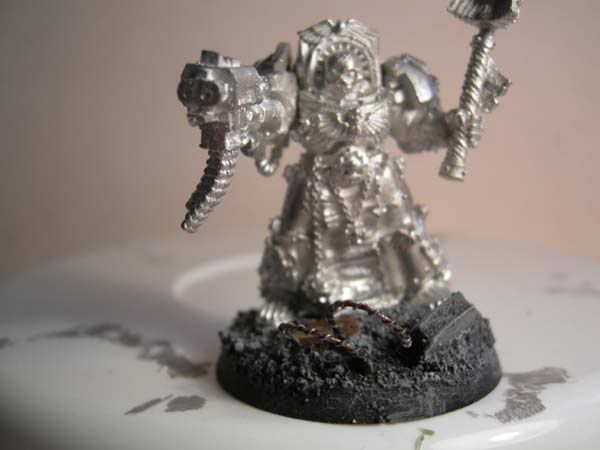
Embarrasingly, my first pic is actually a completed base with an unprimered model of a terminator chaplain destined for Deathwing:

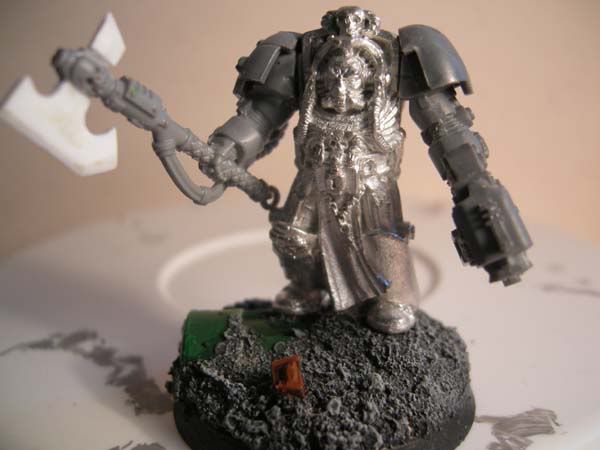
Next up, is the Deathwing Librarian. This Librarian model is relatively old (at least compared to the young sprite of a Chaplain above). I hated the arms on this guy as they were short and stubby as old metal Termies were back then. I wanted him to be able to blend in with my new termies, so I gave him plastic arms and converted a TH into a Force Axe. I also built the base up so he'd appear to be the same height as new termies. No short librarians amongst the Unforgiven!
I tried to make the pose look like he was brandishing that axe threateningly, but it's difficult when the body is essentially a block of metal. I'm not the happiest with the SB arm placement, but I've come to terms with it. What was I saying...oh yes. Again. Here we have a completed base. Unprimed model. I have a problem. The first step is admitting it.
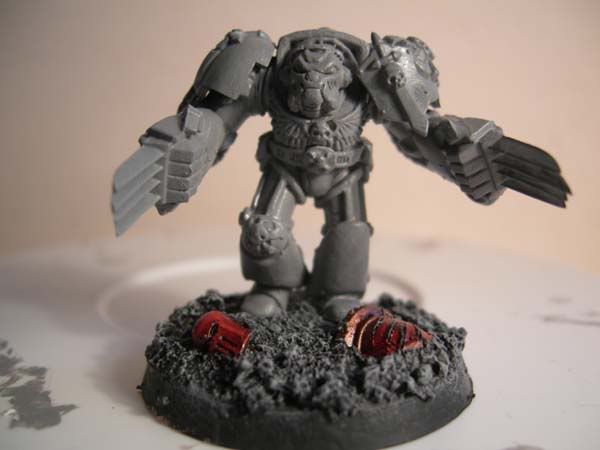
Oh. The humanity! Here's a primered (Grey Gesso) Deathwing Assault Termie with a completed base.
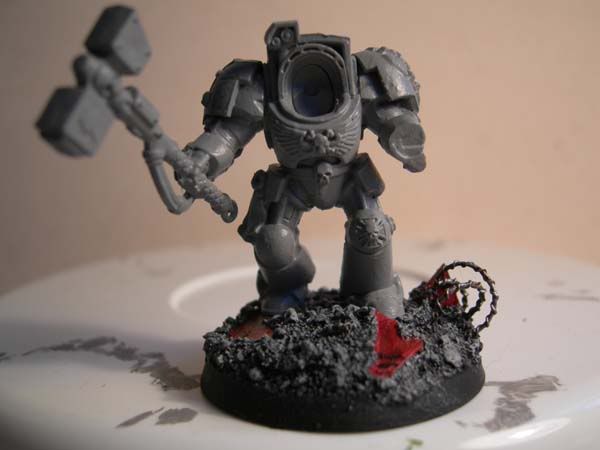
Here's the Deathwing Sgt. Missing his head. And his stormshield. Yet. He is primered and standing on a fully painted base complete with Word Bearer wreckage (my friend plays Chaos Space Marines and rocks a Word Bearer paint scheme!).
You're probably thinking, "Jeez cawshis. That's got to be it, right? I mean...how many completed bases but not painted models could you possibly have?" To which I answer...TOO MANY!Of course, since taking these pictures, I've since basecoated the Chaplain and Deathwing models above. The Ravenwing? Not so much. I'm not confident enough in highlighting black yet...but I'm getting there! To reveal a secret: I pinned all my Deathwing/Ravenwing models to their bases so that I could easily remove them for painting purposes...so painting the bases was actually pretty easy since I do them in batches separate from the model. I wish I'd get around to doing the models though!
But yeah. There you go, Ron! Primed models sitting on completed bases! Do you believe now? I really need to get better at not doing that...is there a support group out there?