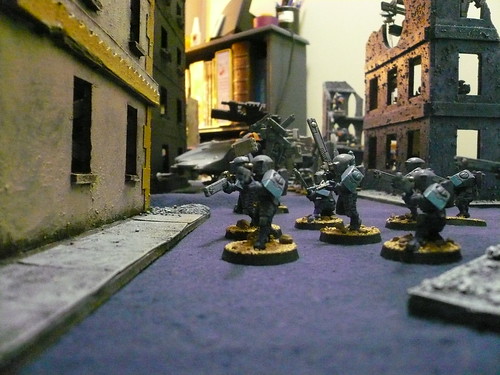
 Tau Forces march thru the ruins of an Imperial City
As mentioned in my last post, I had two more large buildings I wanted to show off. Both of these buildings I constructed together as a pair, using foamcore, balsa wood, coffee stirrers and modelling clay to add in all the nifty details.
First up are the WIP shots of a 4 story building, fortified with a few sandbags on the top floor. I offer up the WIP shots so you can see the bits and stuff used. Cardboard for the corner details, wood for the flooring and lots of foamcore!
First up are the WIP shots of a 4 story building, fortified with a few sandbags on the top floor. I offer up the WIP shots so you can see the bits and stuff used. Cardboard for the corner details, wood for the flooring and lots of foamcore!

 Up next are the painted versions and some detail shots. I'll admit I'm not the best photographer and taking pictures of terrain is tougher as I can never get the lighting right on the big pieces. If you've got any advice on snapping shots of terrain, I'd be happy to read them!

 I learned a lot from my first batch of buildings and applied the lessons to these buildings.
- Leave space on the floors for larger based models.
- Don't clutter up the bottom floors too much. Less is more for ruined buildings you want to play on!
- When painting terrain, drybrushing is your best friend.

 WIP shots of my next building: My attempt at a "fortified" building for Cities of Death. I simply boarded up the windows! I guess the sandbags on the previous building might also quality it as fortified...so that's potentially 2 fortified buildings for my table.

And now the painted shots!


Thanks for looking! I hope these pieces inspire you to make your own city terrain! I really found a love of making terrain with this city fight project...and indeed the hobby. There is really nothing like defending your DIY ruined city with your freshly painted marines in 40k. It's why the hobby is one I've stuck with for so long!
2 comments:
The scattered sandbags and the boarded up windos are great touches that add character to these buildings! Good job.
great scenery! well done! Craig @ cadian8th.blogspot.com
Post a Comment