First my ziggurat (this is an older photo with just the first basecoat):

It's 15 layers (3 sheets x 5 levels) of 1/2" sheet insulation - the blue stuff. I cut all the sheets then glued and screwed them together. I then cut the steps out and cut the foam into blocks. After I cut some wear and tear into the blocks, I used the smooth part of a dental tool to make it look more like stone.
We used this as part of an Apocalypse event NerdNYC organized. It's pretty big 21" square and about 8" tall.
Next the gaming table:
 This was a pretty simple job. I bought two 24" x 80" interior door slabs and a couple of 3.5" hinges. I tried to get the narrowest hinges possible, because the door is hollow. So if you go beyond the frame of the door you'll just be screwing into the thin luan.
After attaching the doors, I used masking tape to create the playing area, which I wanted to keep as 4' x 6'. I really like having the extra 4" on either side of the playing area, because it give you somewhere to put reserves, right before they outflank (hopefully right next to a devilfish, ha!) or a tape measure or casualty(previously mentioned devilfish).
 I primed the wood with gesso and used acrylic enamel paint. I would recommend the enamel paint over regular acrylic, because a gaming table takes a beating with all the movement it gets and all the terrain pieces that have rough surfaces like sand/rock/rubble. I painted it dark grey and used a toothbrush to spatter it with a couple lighter shades.
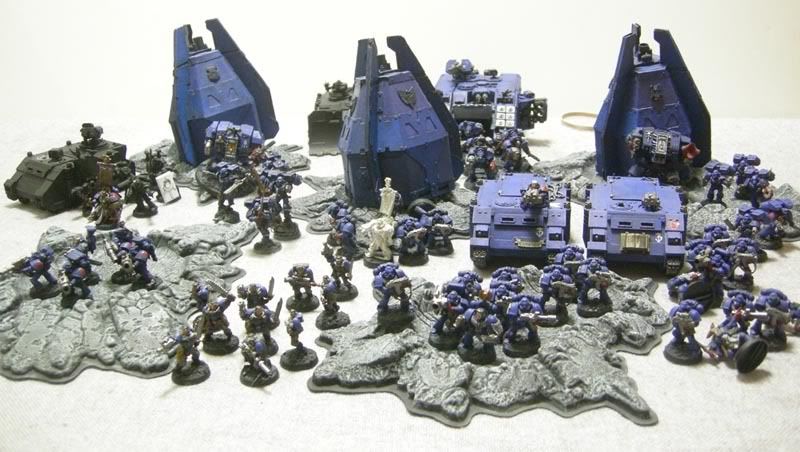
If you want a final pic with terrain and models on it, ask Cawshis. It's his table now. Happy birthday!